[ QUOTE ]
Ok guys I have a couple of dumb
questions on my homebrew.
Using Paul's as a reference (mine is oriented just like it).
I just used the regular glass from Hag's house for the flash. Paul's looks to be a little lighter in color?
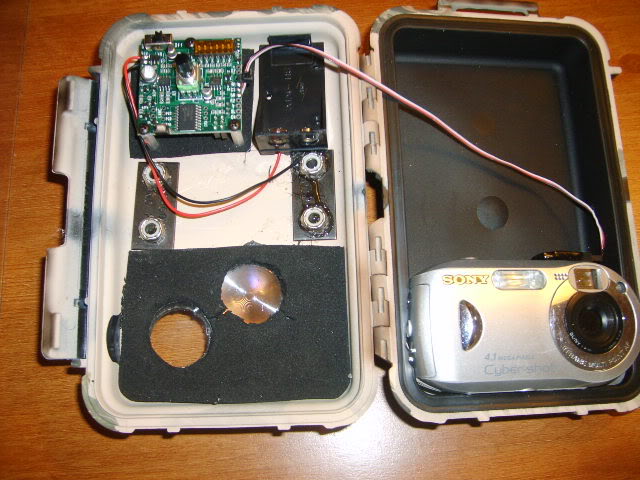
When I put the standoffs in do I need to cut out the Carpet tape and set them in or can I put them right on top of the carpet tape and then use the E6000 adhesive? I keep reading on getting the frensal the right distance from the sensor and did not know if this would affect it if I set it on the carpet tape. (I am using the PT tape from Hags also.
Also what holds the battery charger in do you just place it on the carpet tape and glue it down.
Thanks guys I am getting close but don't want to totally screw it up.
[/ QUOTE ]
No such thing as "dumb" ??'s...I had plenty of them
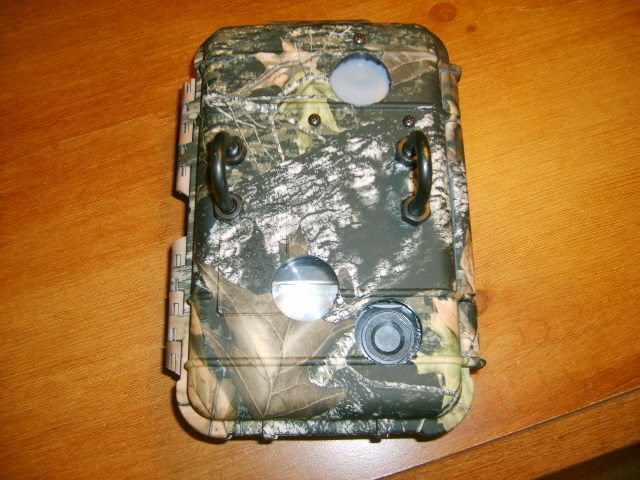
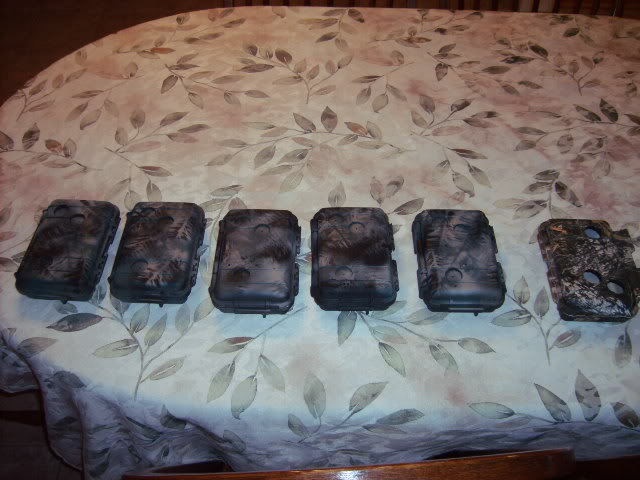
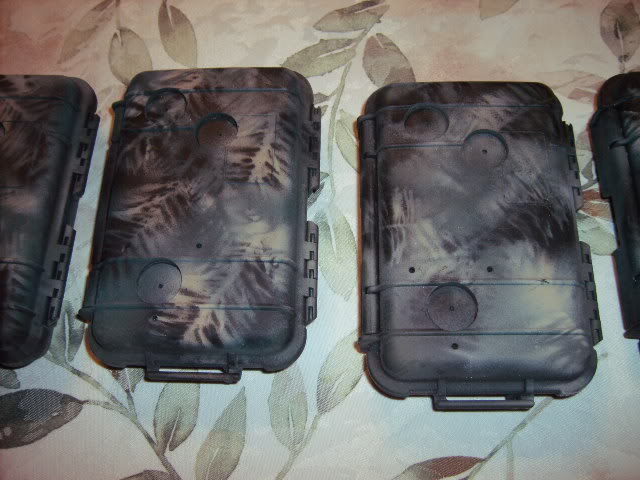
I used "camo" spray paint (black, brown and green) and used a couple oak leaves to paint the cases.
[ QUOTE ]
I just used the regular glass from Hag's house for the flash. Paul's looks to be a little lighter in color?
[/ QUOTE ]
I used the flash enhancer lense
[ QUOTE ]
When I put the standoffs in do I need to cut out the Carpet tape and set them in or can I put them right on top of the carpet tape and then use the E6000 adhesive? I keep reading on getting the frensal the right distance from the sensor and did not know if this would affect it if I set it on the carpet tape. (I am using the PT tape from Hags also.
[/ QUOTE ]
I trimmed the frensal lense edges and tape so that the standoffs set against the case and used the sealant where the screws go thru the case.
[ QUOTE ]
Also what holds the battery charger in do you just place it on the carpet tape and glue it down.
[/ QUOTE ]
There are better ways but I used several layers of carpet tape together to hold the battery case. Little flimsy but I haven't had any real problems with it.
The only problem I've had so far...is remembering where I put the darn things after they are in the woods a month...